Dessert

Easy to Make Peanut Butter Balls with Oats

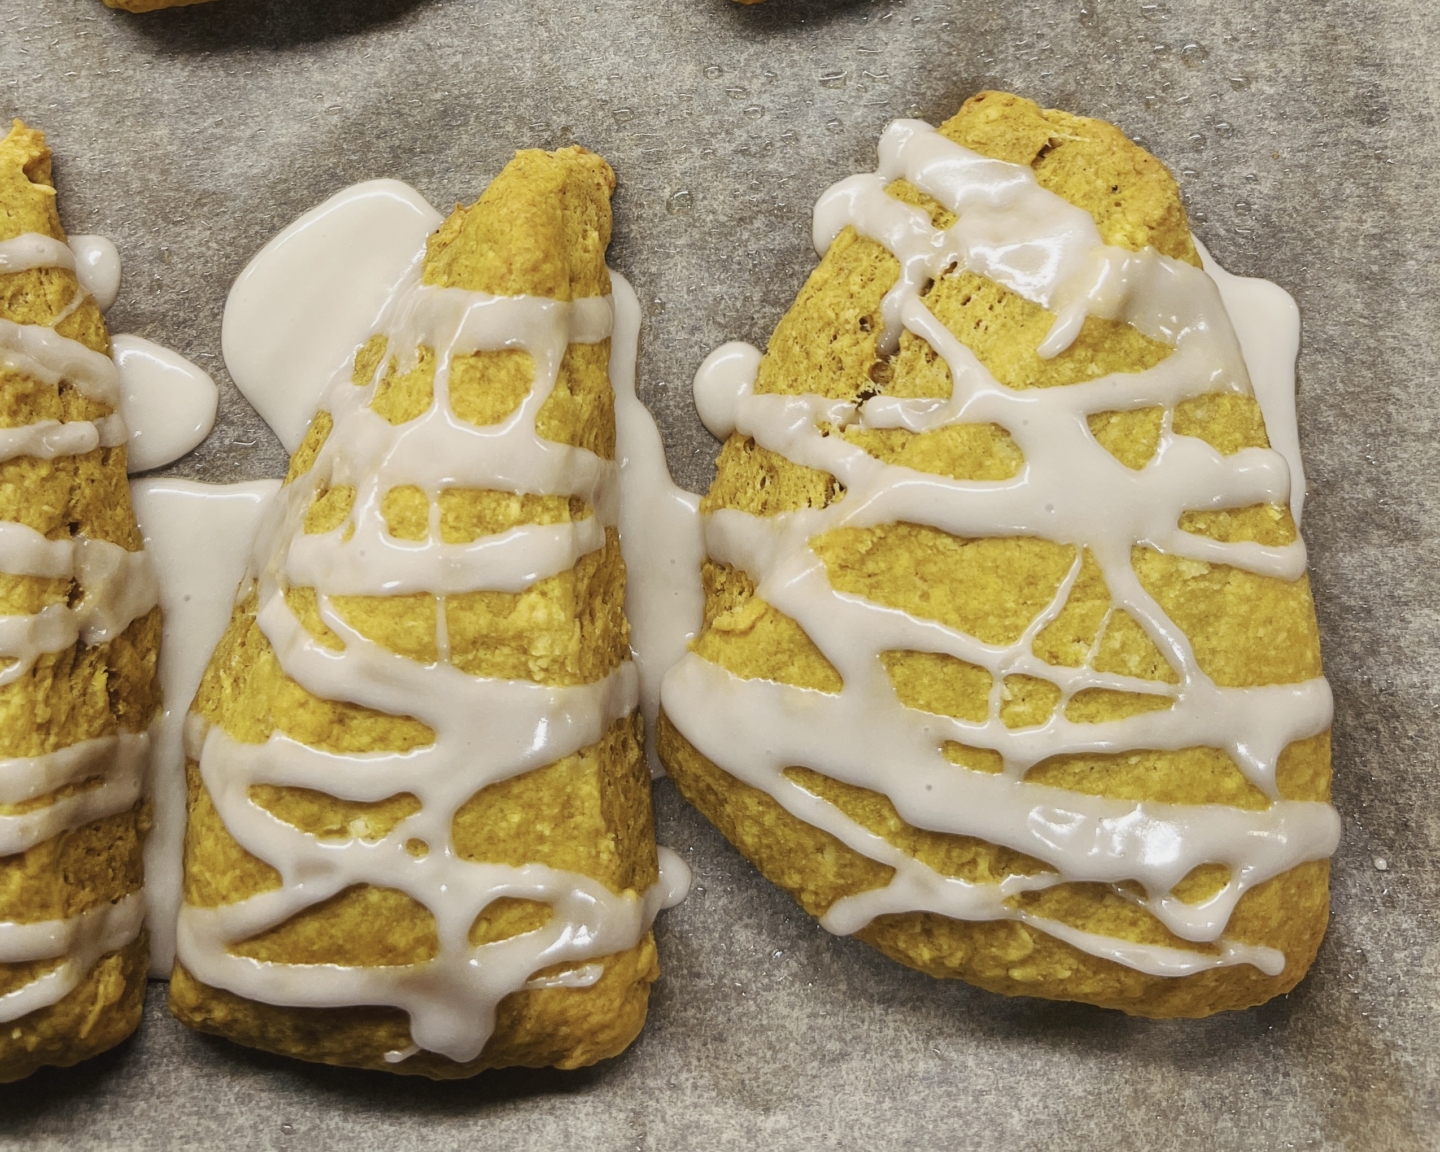
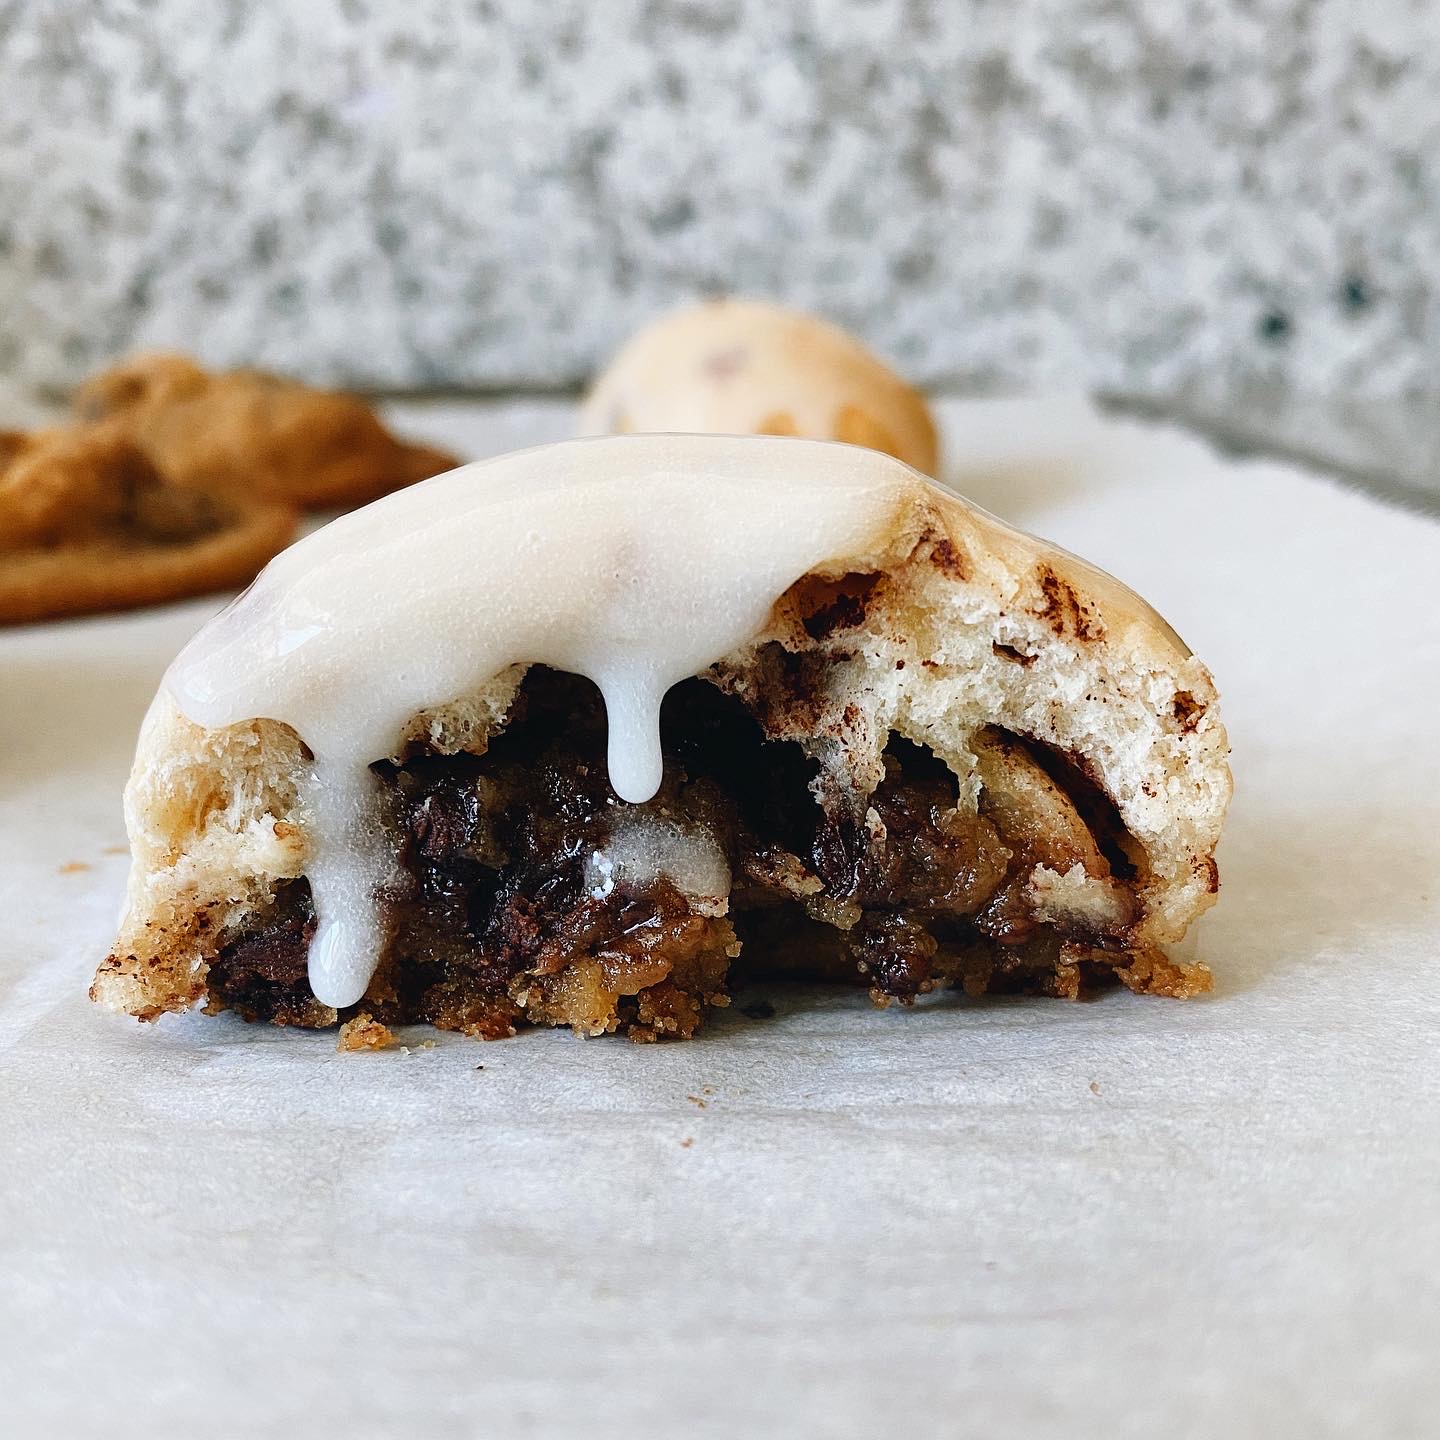
Peanut Butter Balls with Oats and Flax Seeds

These peanut butter balls blend the creamy richness of peanut butter with the chewy texture of old-fashioned oats, complemented by a hint of sweetness and crunch from the coconut. The inclusion of ground flax seeds not only adds a subtle nutty undertone but also a boost of nutrients, making these treats both delicious and nourishing. Drizzled or coated with melted semi-sweet chocolate, they become irresistibly decadent. Perfect as a midday snack or a sweet treat after dinner, these balls are a testament to the magic that simple ingredients can create when combined with care.

Ingredients:

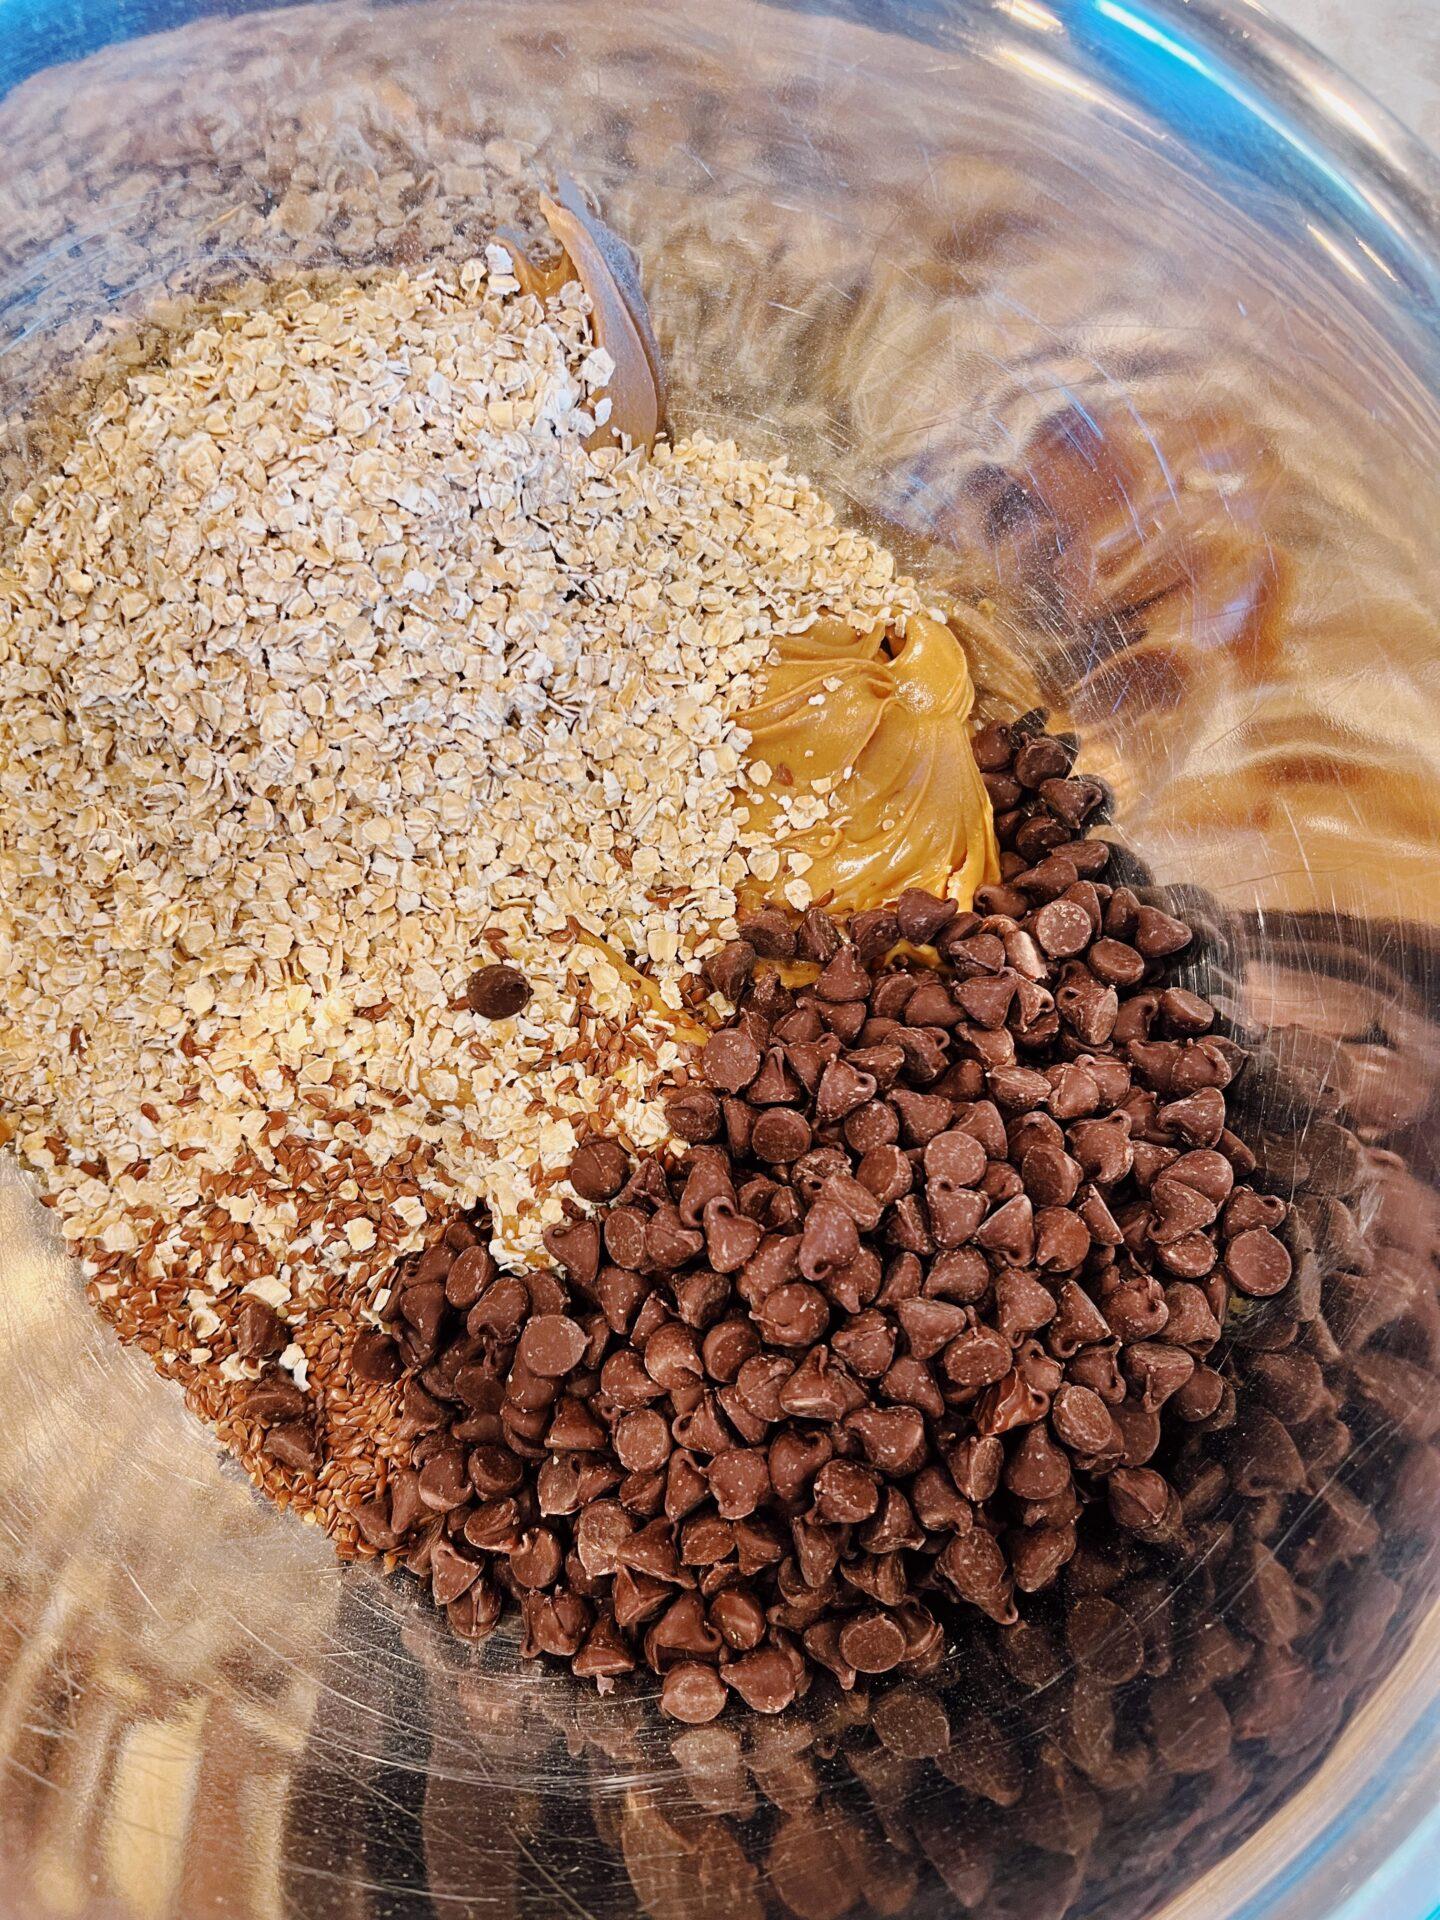
1 cup creamy peanut butter
1 cup old-fashioned oats
1/2 cup semi-sweet chocolate chips
1/4 cup ground flax seeds
1/4 cup honey
1/2 cup sweetened coconut flakes

Yield: Approximately 20-25 balls, depending on size

Instructions:

  1. Mix Dry Ingredients: In a large mixing bowl, combine the old-fashioned oat, ground flax seeds and coconut flakes.
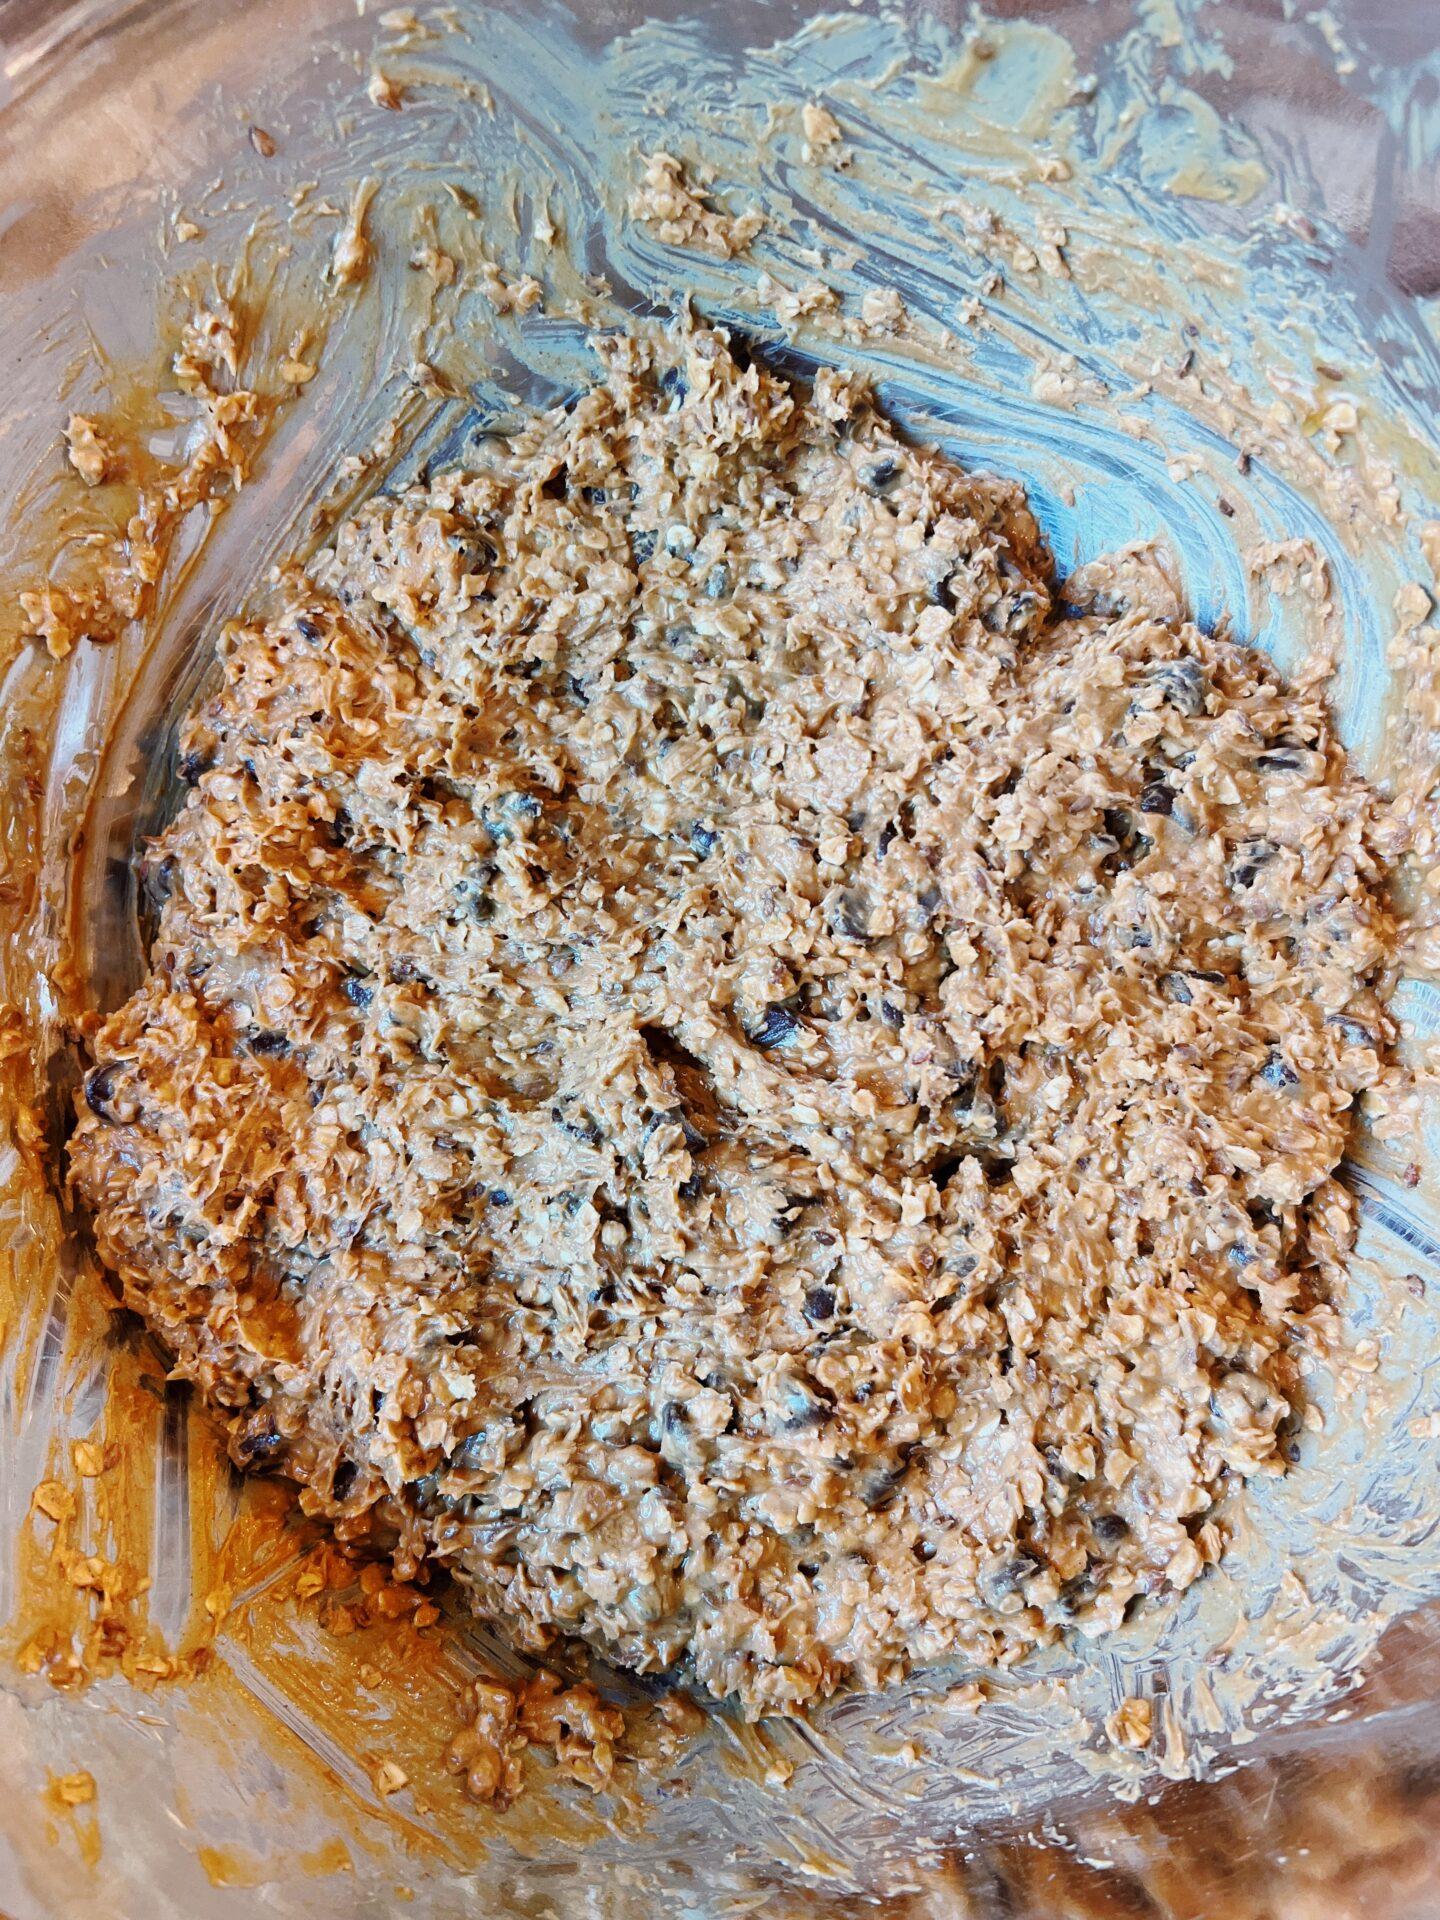
  2. Add Wet Ingredients: Pour in the creamy peanut butter and honey. Mix well until all the ingredients are thoroughly combined. The mixture should be sticky and able to hold its shape.
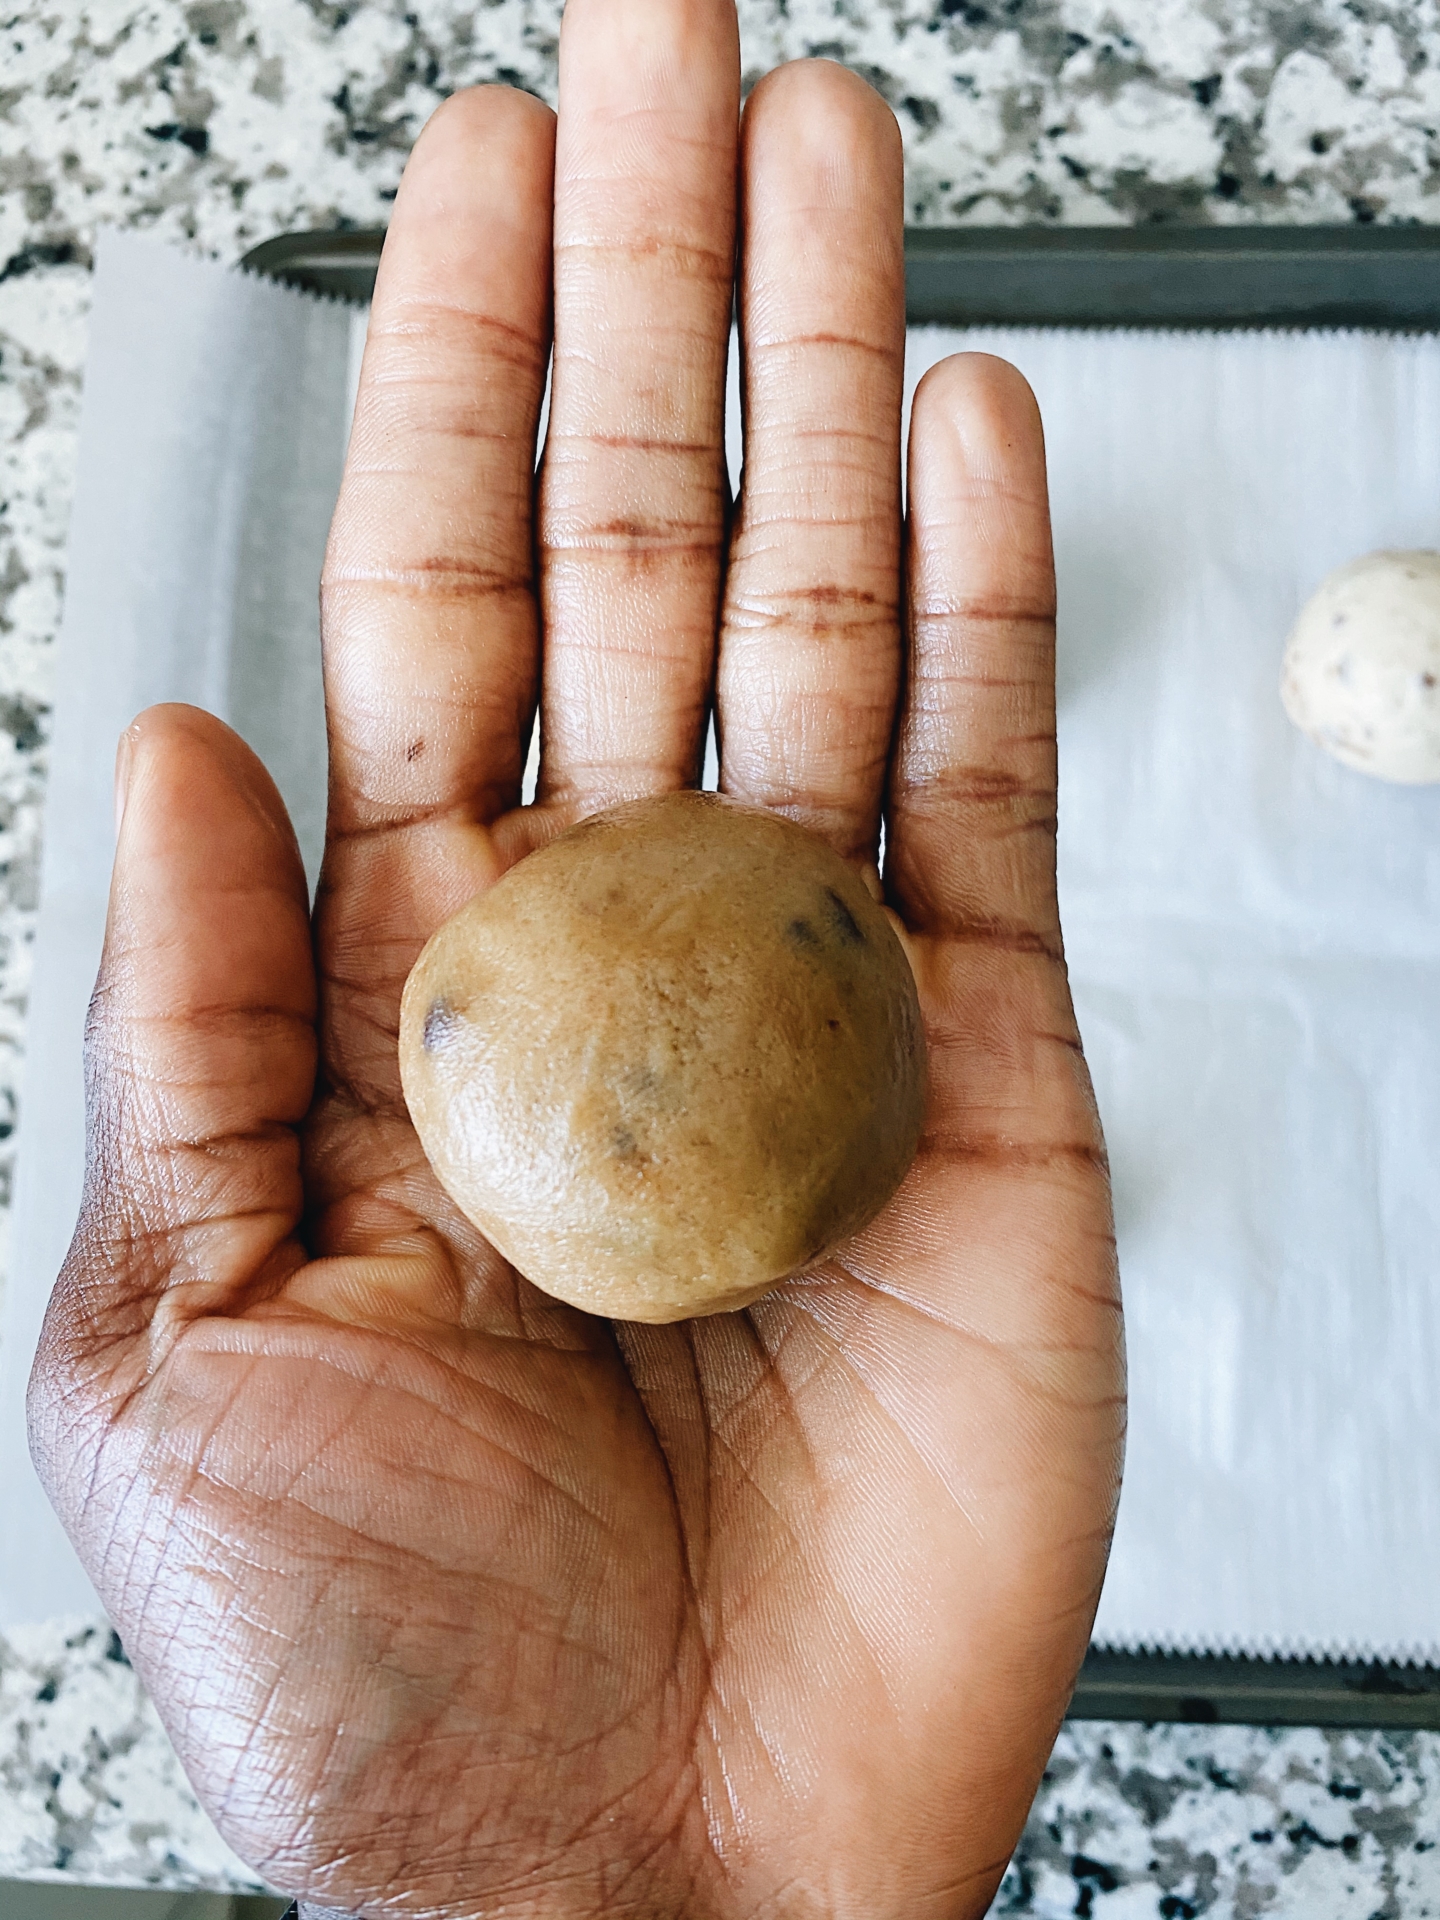
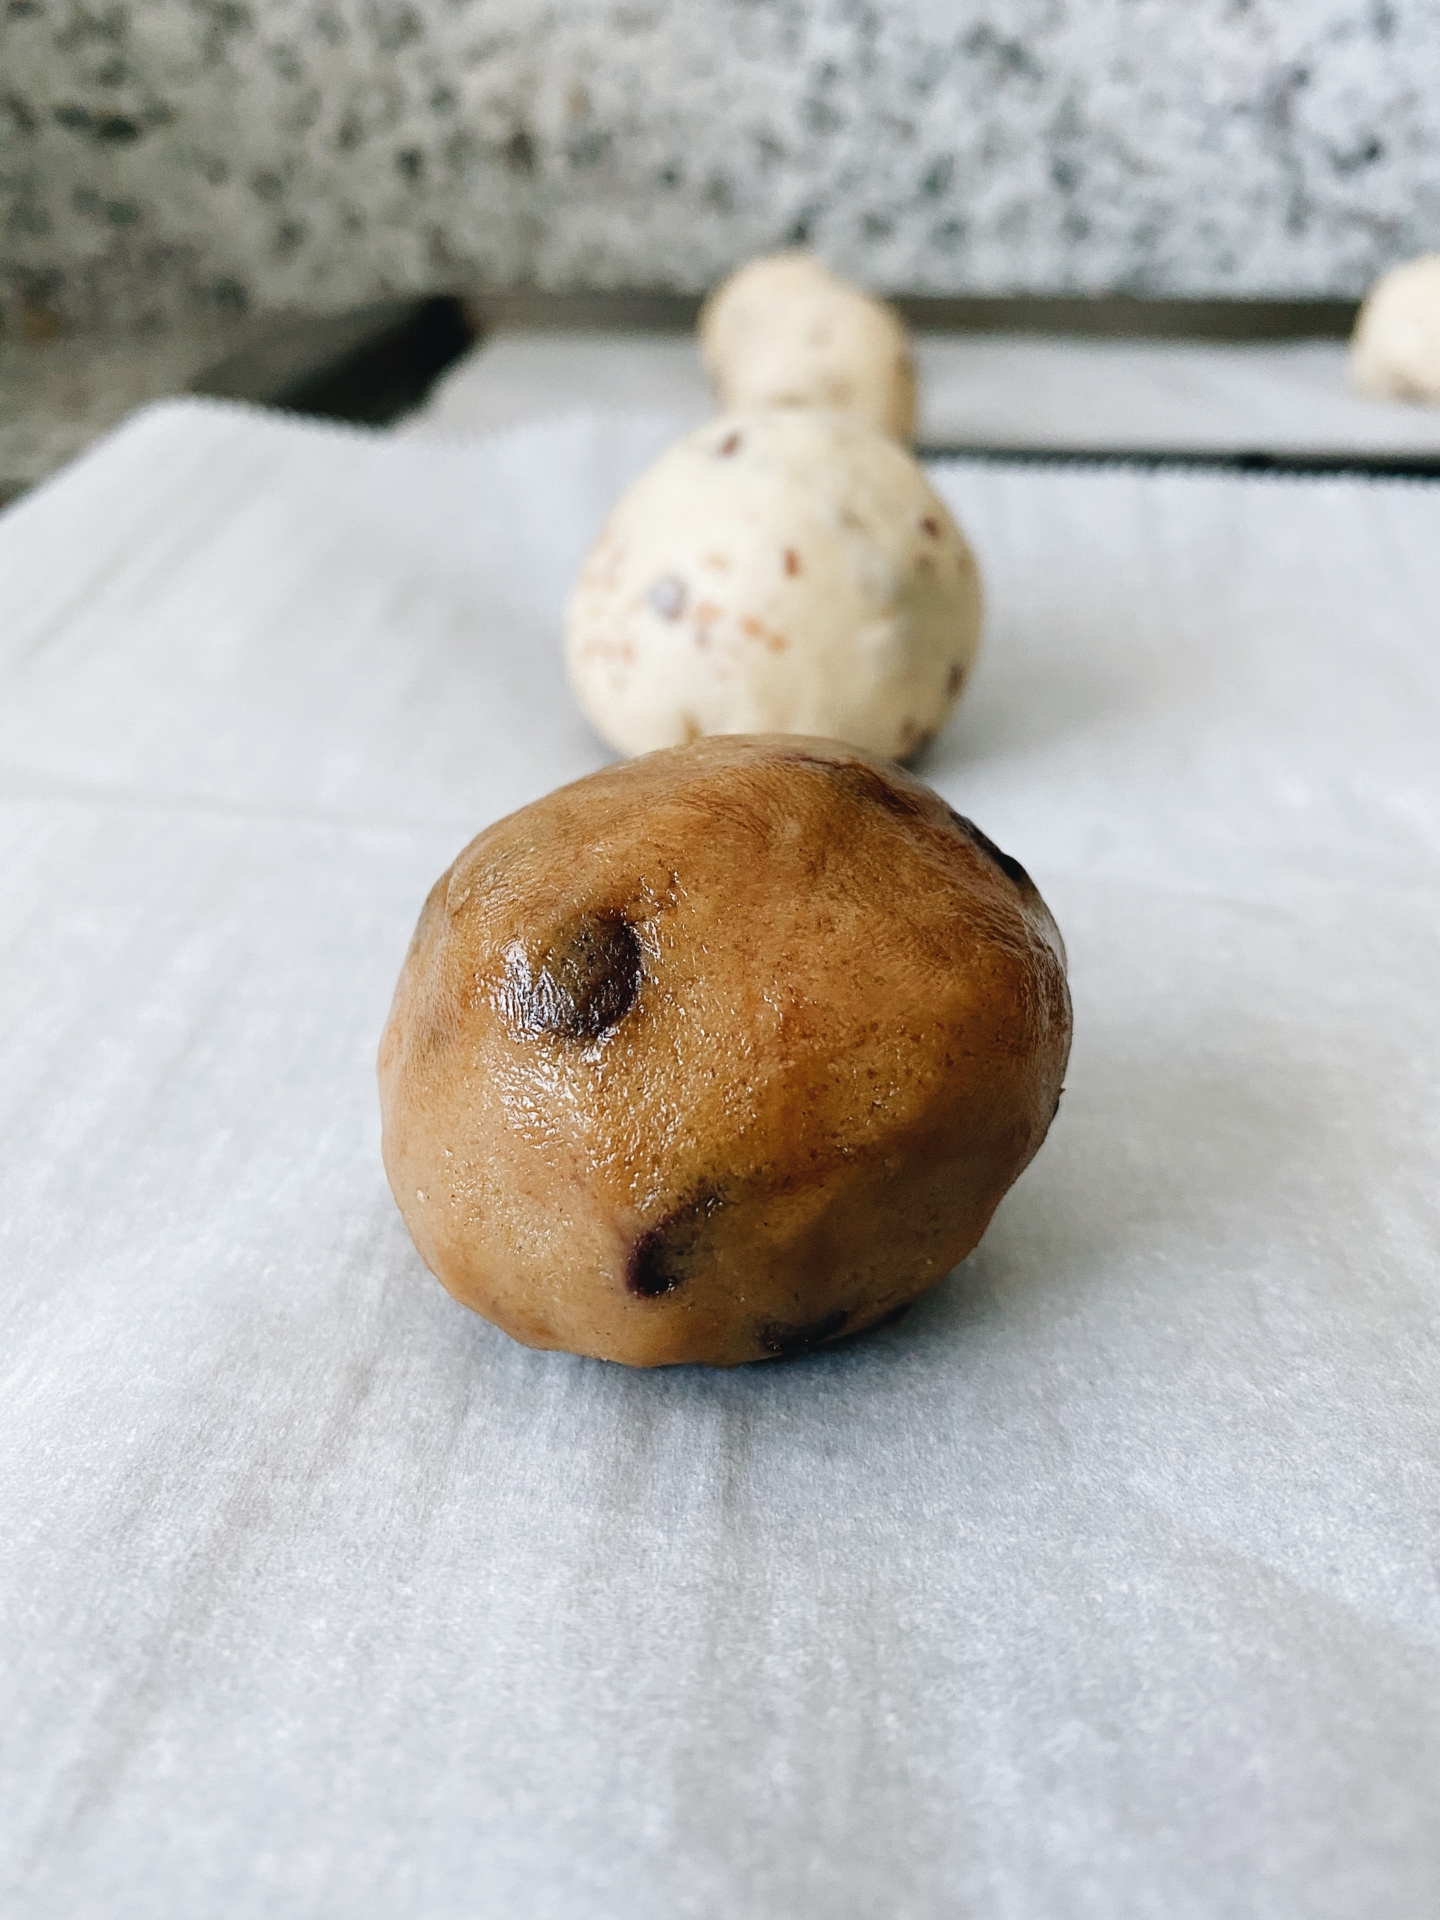
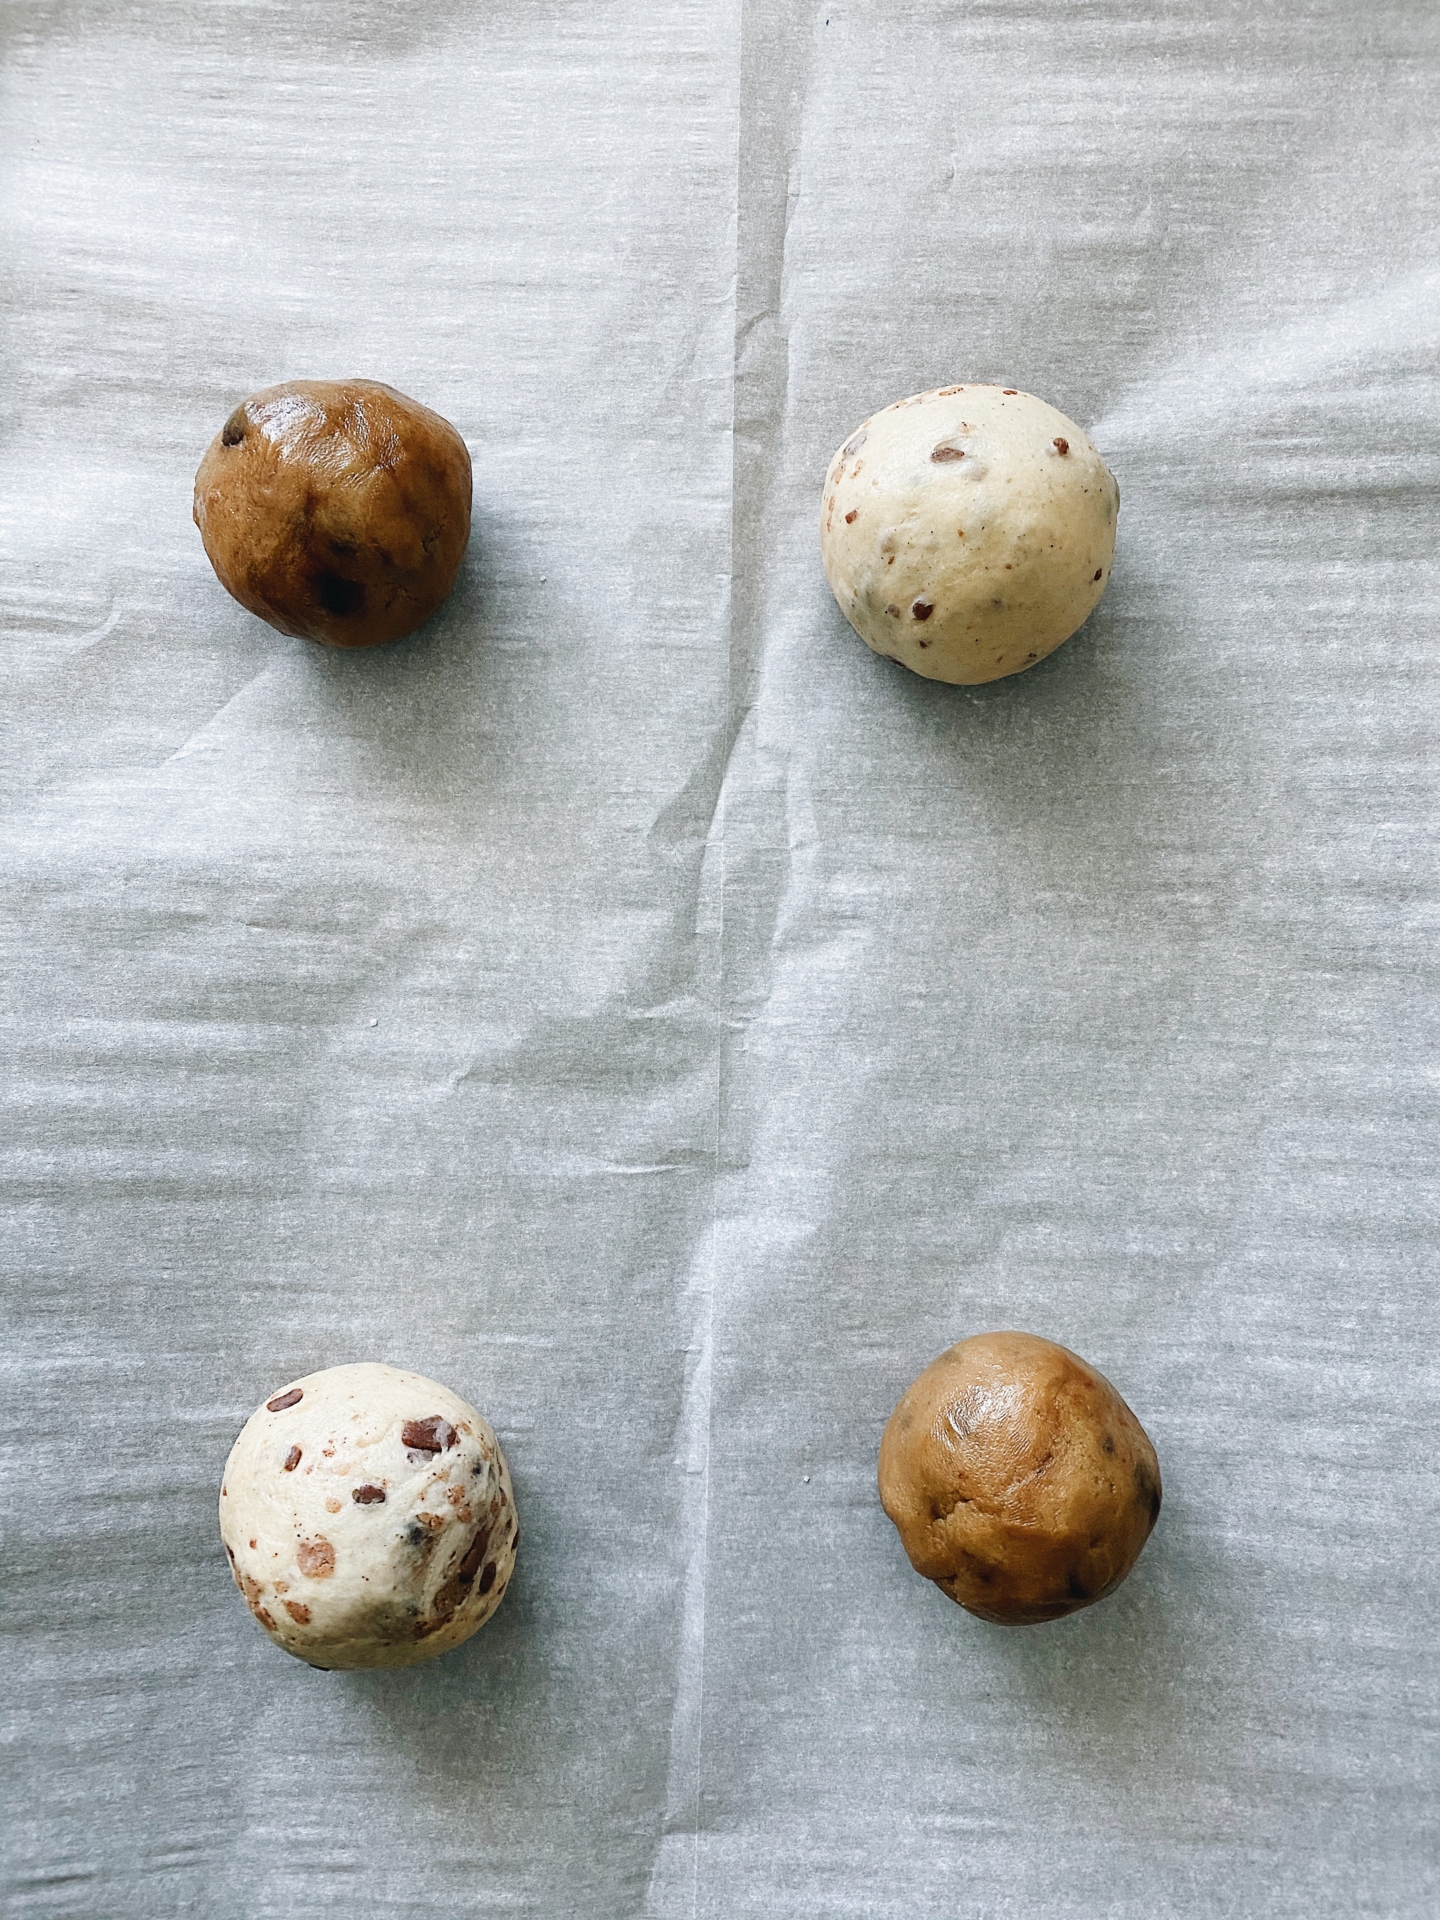
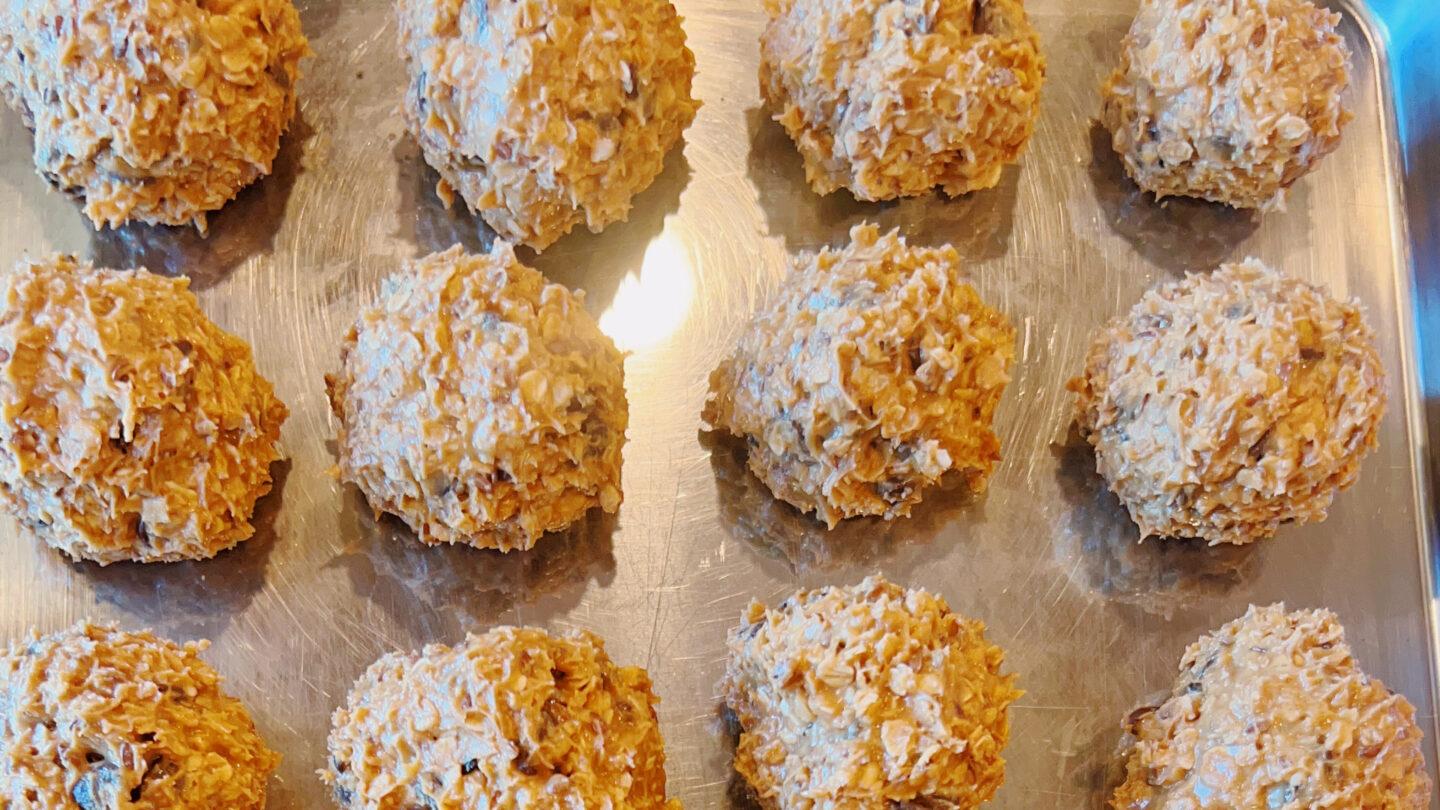
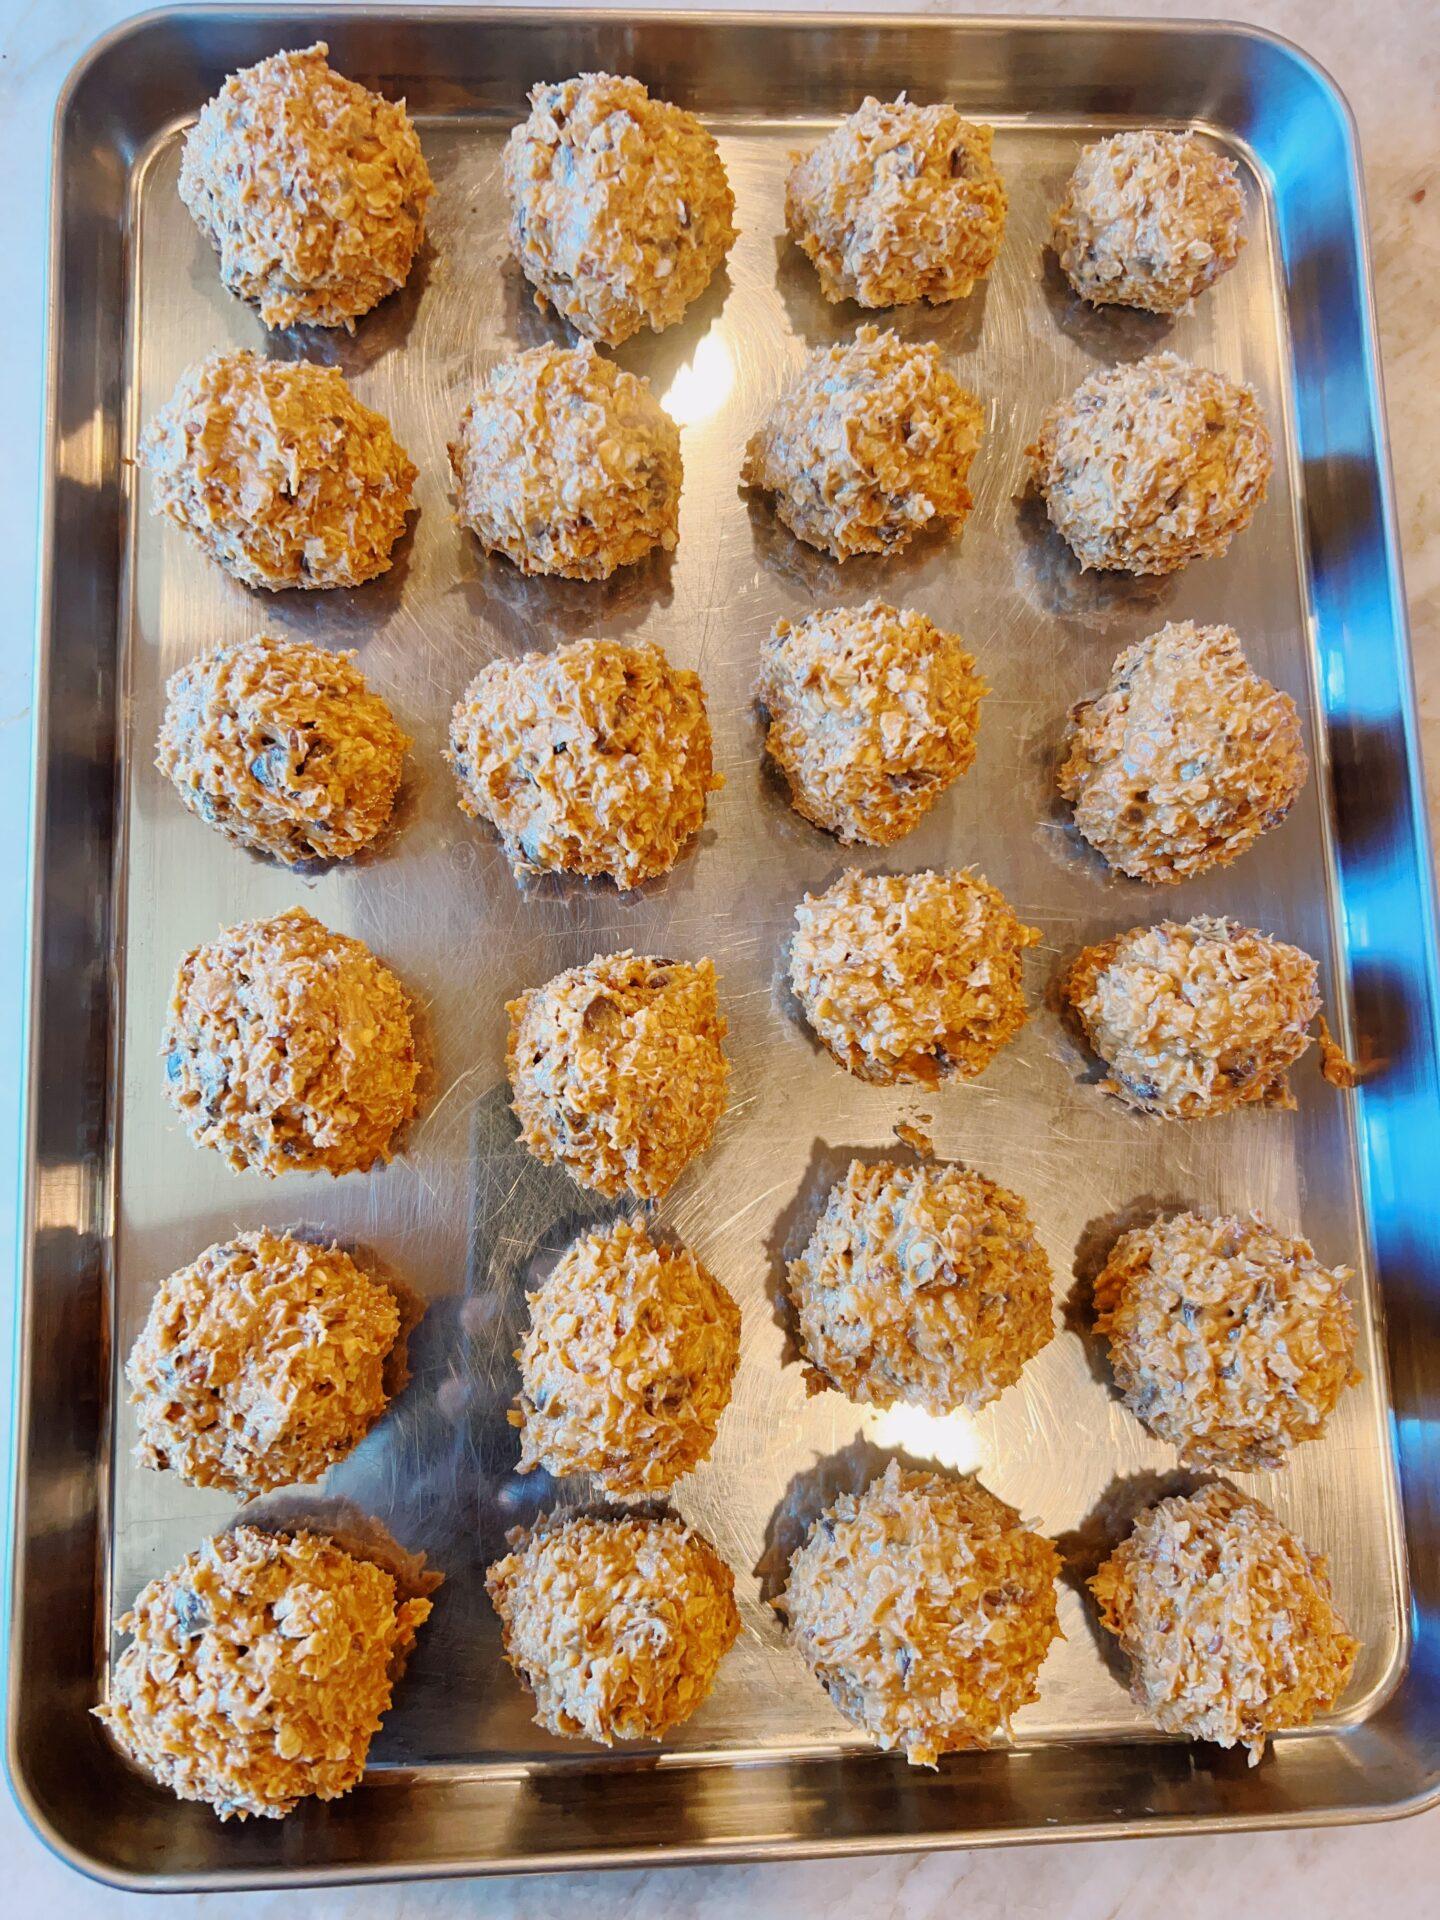
  3. Form Balls: Using clean hands or a scoop, take a portion of the mixture and roll it into a ball, roughly the size of a golf ball. Repeat until all the mixture is used.
  4. Set: Place the balls on a baking sheet lined with parchment paper or a silicone mat. Refrigerate for at least 1 hour, or until the balls are set and firm.
  5. Serve and Store: Once set, transfer the peanut butter balls to an airtight container. They can be stored in the refrigerator for up to a week. Enjoy!

Chocolate Coating (Optional):

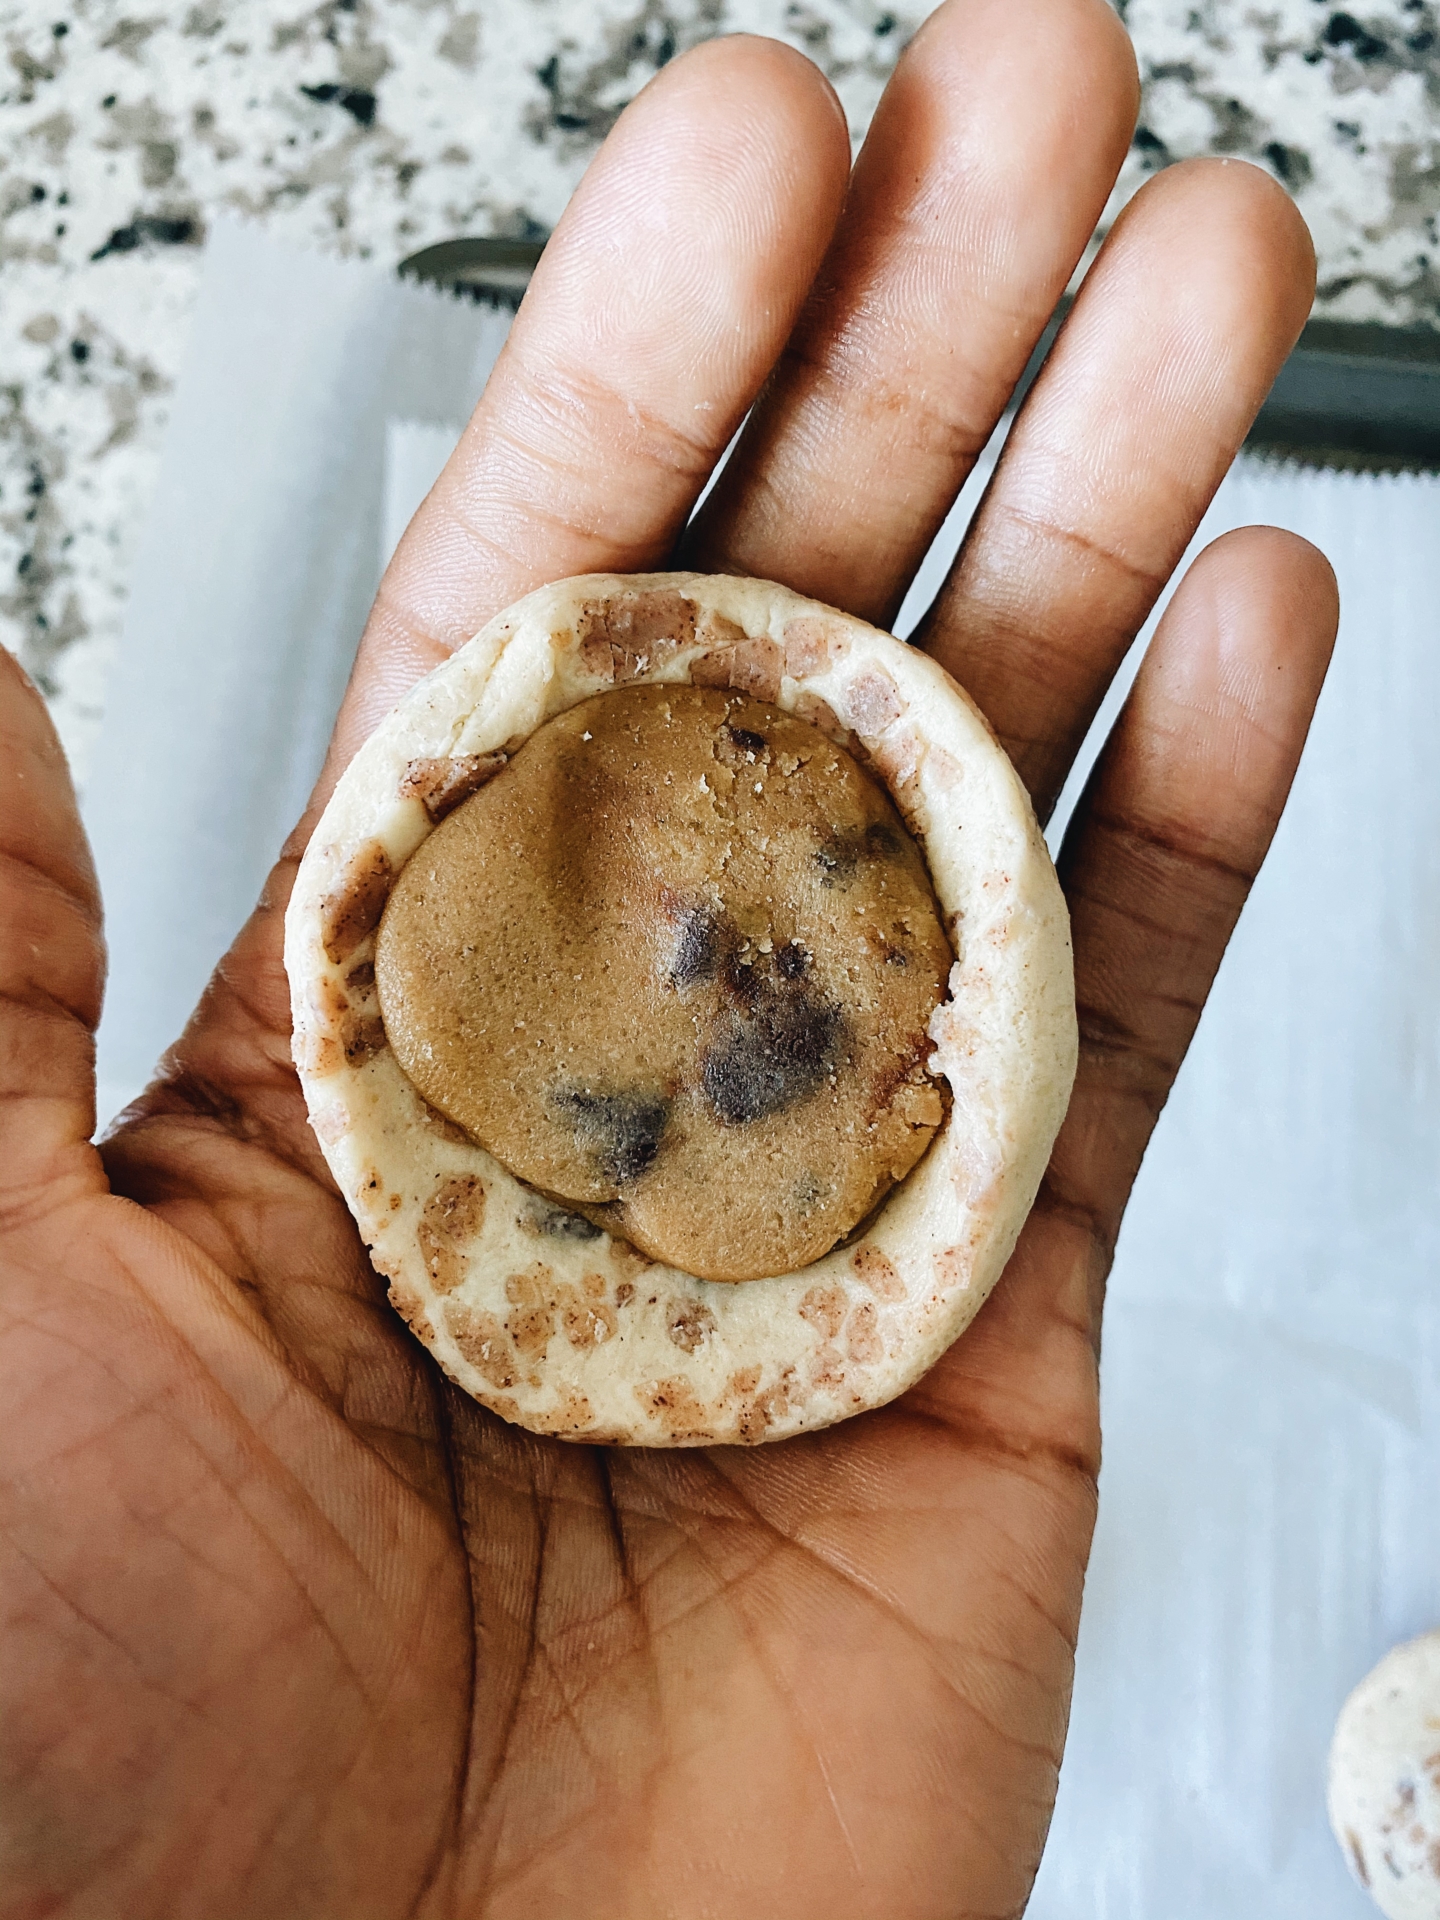
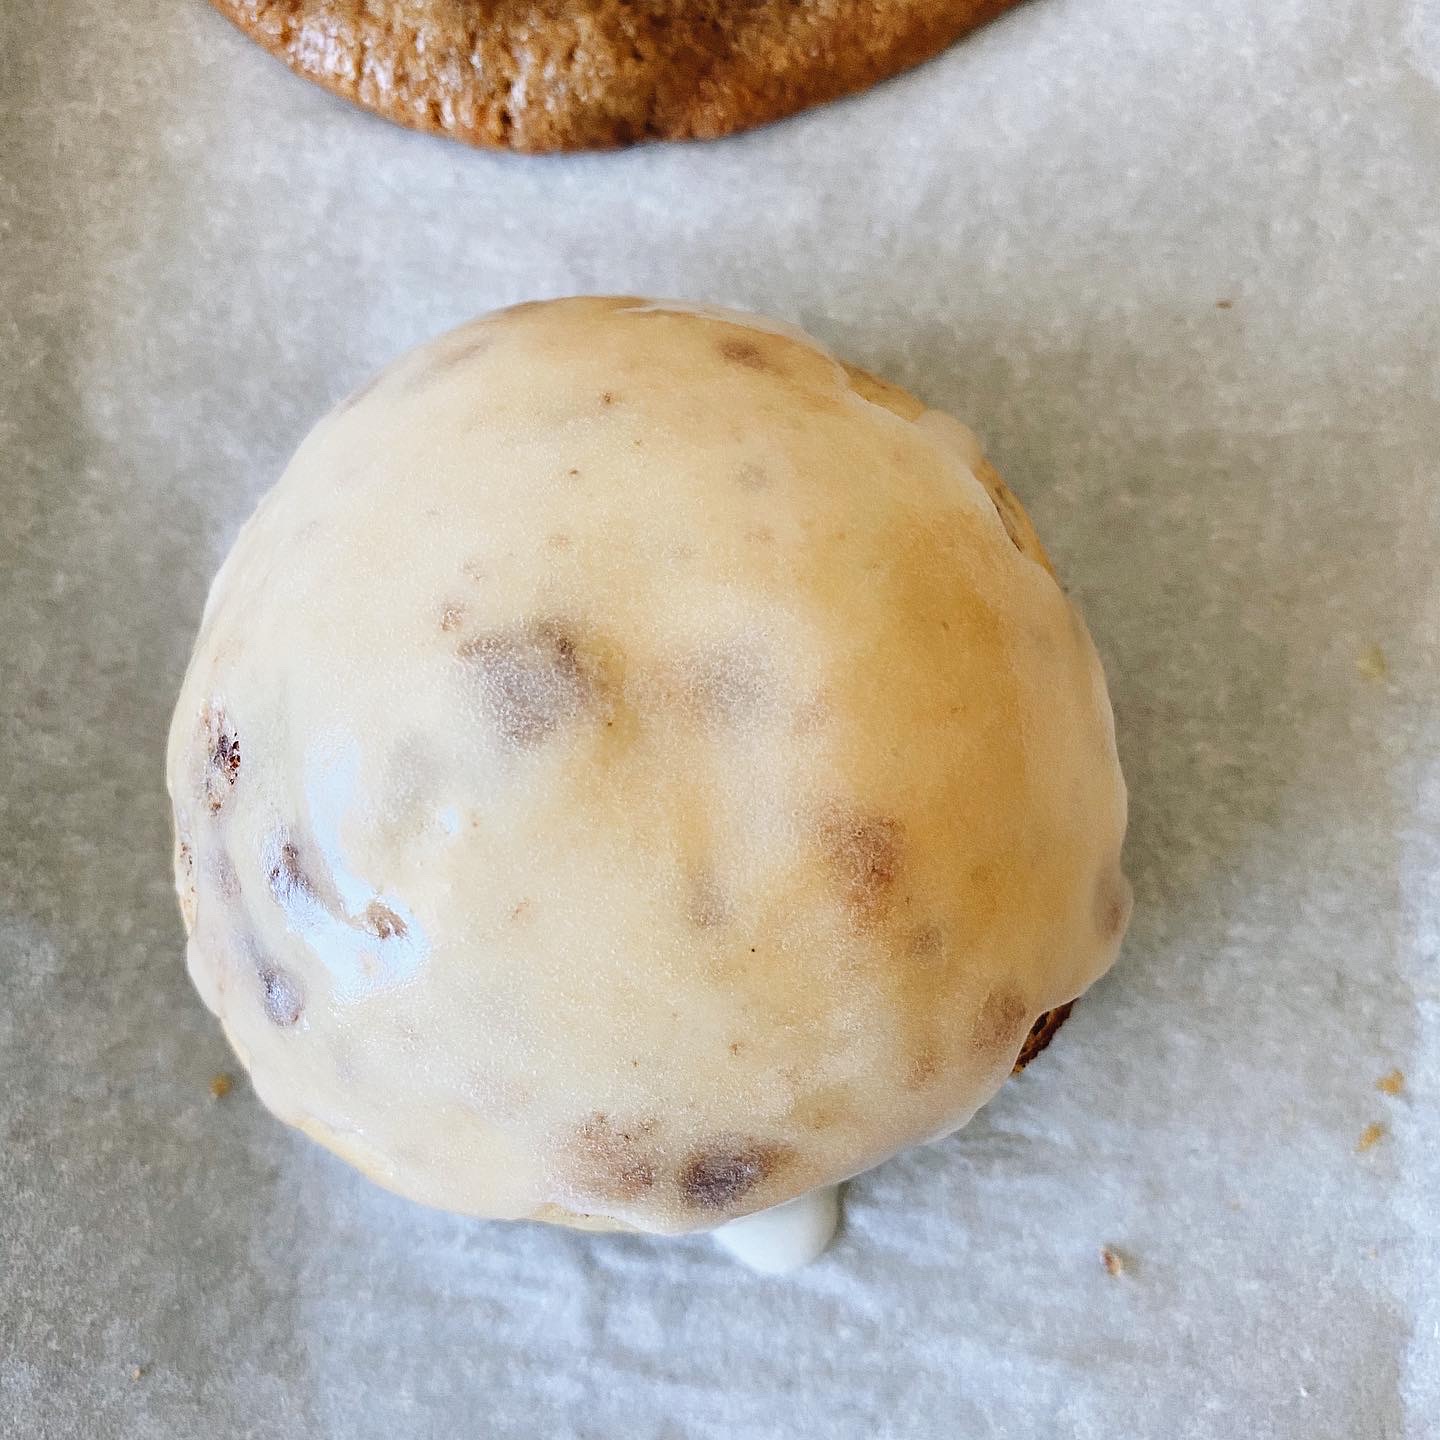
  1. In a microwave-safe bowl, melt the semi-sweet chocolate chips. This can be done by microwaving in 20-second intervals, stirring after each interval until the chocolate is smooth and fully melted.
  2. Dip each peanut butter ball into the melted chocolate, ensuring it’s fully coated. Use a fork to lift the ball out, letting the excess chocolate drip off.

Notes:

If the mixture is too dry and crumbly, add a bit more honey or peanut butter to reach the desired consistency.
For a more robust flavor, you can toast the coconut flakes in a dry pan over low heat until golden before using them for coating.
These balls can also be stored in the freezer for longer shelf life, and they taste great chilled!

Amorino Gelato: Artisanal Italian Ice Cream in the Heart

Amorino Gelato is a delightful gelato shop located in Los Angeles, California. This artisanal gelato maker is inspired by traditional Italian techniques, but adds a modern twist to its creations. The shop is famous for its high-quality, authentic Italian gelato, which is made using only the freshest ingredients, including locally sourced milk and fruits.

One of the most popular offerings at Amorino Gelato is the Gelato Flower, which is a work of art in itself. The flower-shaped scoops of gelato are arranged in a cone, making for a visually stunning and delicious treat. The Gelato Flower is available in a variety of flavors, including classic favorites like vanilla and chocolate, as well as unique and creative flavors like caramel, pistachio, and passion fruit.

Another must-try item at Amorino Gelato is the gelato macaron sandwich, which features two delicate macaron cookies filled with creamy, delicious gelato. Customers can choose from a variety of flavors to create their perfect macaron sandwich.

The space is has a few tables and seats so it is great for small groups or dates. Depending on what time you go, you can expect to run into a line during busy hours. If you are smart like me, you will come during mid day when it’s not as busy and you can enjoy your gelato with the option to sit indoors or outdoors.

Overall, Amorino Gelato is a must-visit destination for anyone in the Los Angeles area who loves high-quality, artisanal gelato. With its beautiful Gelato Flowers and delicious macaron sandwiches, this gelato shop is sure to satisfy any sweet tooth. So why not stop by Amorino Gelato and treat yourself to a delicious and unique dessert experience today?

Address:  9605 S Santa Monica Blvd Beverly Hills, CA 90210 | Tel: (424) 335-0317

Easy to Bake Pumpkin Scones

It’s that time of the year when pumpkin everything is in style. These easy to bake pumpkin scones topped with a decadent maple glaze are perfect with a hot cup of coffee on a crisp Fall morning or cozy afternoons. Made with pumpkin puree and warm spices like cinnamon and nutmeg, these scones are packed with autumn flavors. The dough comes together easily with just a few simple ingredients, and the scones are ready to bake in no time. Once they’re out of the oven, the scones are tender, flaky, and just the right amount of sweet. Whether you enjoy them with a cup of coffee or as a quick breakfast on the go, these Easy to Bake Pumpkin Scones are sure to become a fall favorite.

INGREDIENTS

  • 2 cups all-purpose flour
  • ¼ C sugar
  • 2 tsp baking powder
  • 2 tsp pumpkin pie spice
  • 1 tsp vanilla
  • pinch of salt
  • 6 Tbsp hardened coconut oil (or vegan butter/margarine)
  • 3/4 C pumpkin puree
  • 1/3 C unsweetened almond milk 

Maple Glaze

  • 1 C organic powdered sugar
  • 2 tsp pure maple syrup
  • 1 Tbsp unsweetened almond milk

INSTRUCTIONS

  1. Glaze: In a small/medium bowl, add the powdered sugar, maple syrup and non-dairy milk, mix well and set aside. Glaze should be thick. If glaze is thin, place in the refrigerator to chill and thicken.
  2. Preheat oven to 425 degrees F. Line a baking sheet with parchment paper, and lightly grease with oil.
  3. In a medium size bowl, mix the flour, baking powder, sugar, pumpkin spice and salt, blend well. Add the coconut oil, and using either a pastry blender or mixing spoon, mix well. Then add the pumpkin puree, vanilla, and milk to the mixture, stir to form a dough. Using your hands, knead the dough into an even ball.
  4. Transfer the dough to a lightly floured surface. Lightly flour the top of the dough and pat into a circle, (see picture above – roughly about 1 inch high 8 inch wide). Using a knife, gently divide the dough into 6 – 8 slices.
  5. Place the scones on the baking sheet. Place in the oven and bake for about 18 minutes, until lightly golden along the edges. Let cool a bit before transferring to a cooling rack.
  6. Once your scones are cooled, drizzle the glaze in a zig zag across the top of each scone. Let the glaze set before serving. Enjoy.
  7. Make sure you hashtag #DinnerWithTayo, I would love to see your dish.

Nigerian Puff-Puff: A Popular Street Food You Can Make at Home

Nigerian Puff-Puff is a popular and delicious West African snack that’s perfect for satisfying your sweet tooth. These little balls of fried dough are made with flour, sugar, yeast, and spices, and are deep-fried until golden brown and fluffy. The result is a sweet and airy treat that’s perfect for any occasion. Nigerian Puff-Puff is a staple street food in Nigeria, and it’s commonly enjoyed as a breakfast or snack item. It’s also easy to make at home, as the ingredients are simple and the recipe is straightforward. Whether you’re a fan of fried dough or just looking to try something new and delicious, give this Nigerian Puff-Puff recipe a try and experience the flavors of West Africa.

Ingredients

  • 1¼ cups water
  • 2 teaspoons active dry yeast
  • ¼ cup plus 1 teaspoon granulated sugar, divided
  • 2 cups all-purpose flour
  • ½ teaspoon kosher salt
  • 1 teaspoon nutmeg
  • Vegetable oil, for frying
  • Powdered sugar, for dusting

Instructions

  1. In a medium bowl, combine the water, yeast, and 1 teaspoon sugar and whisk gently. Cover the bowl and set aside for about 6 minutes, until foamy.
  2. In a large bowl, mix together the flour, remaining ¼ cup sugar, salt, and nutmeg.
  3. Pour the wet ingredients into the dry ingredients and whisk until no lumps remain. Cover the bowl and set aside for 1 hour.
  4. Fill a deep, wide pan with about 3 inches of vegetable oil and heat over medium-high heat until it reaches 360°F (182°C).
  5. Using an ice cream scoop or a spoon, drop the batter in 1-tablespoon scoops into the hot oil, making sure not to overcrowd the pan. Fry on each side for about 1 minute, or until golden brown. Remove from the oil and drain on a paper towel-lined plate while you repeat with the remaining batter.
  6. Dust the puff puff with powdered sugar and serve hot.
  7. Enjoy and make sure you hashtag #DinnerWithTayo, I would love to see your dish.

Easy Bake Chocolate Chip Cookie Stuffed Cinnamon Rolls

What’s more comforting than a warm chocolate chip cookie stuffed with cinnamon rolls, just out of the oven? Well, this easy bake chocolate chip cookie stuffed cinnamon rolls topped with vanilla frost is the epitome of comfort desserts. It’s really easy to make and combines two classic desserts into one. Chances are you have the ingredients right at home. So treat yourself and enjoy a bite of this scrumptious baked good. You can take it to a new level by topping it with ice cream.

Ingredients

Instructions

  1. Preheat your oven to 350°F.
  2. There are two ways to make this recipe. First way: Stuff the cookie dough with the cinnamon roll or the opposite way, Cinnamon dough stuffed with the cookie dough.
  3. Open your can of cinnamon rolls and separate them one by one. With a knife, cut some of the cinnamon rolls into cube size pieces. With a rolling pin or your palm, flatten each piece.
  4. Flatten a piece of your cookie dough with your palm. Place the flatten cinnamon roll inside the cookie dough and roll it into a ball.
  5. Place each dough on a nonstick baking sheet and bake for 15 minutes.
  6. When they are ready, drizzle the included cinnamon roll frosting on top of each cookie or cinnamon rolls.
  7. Take this to the next level by topping it with vanilla ice cream.
  8. Enjoy and make sure you hashtag #DinnerWithTayo, I would love to see your dish.

Godiva White Chocolate Banana Pudding: A Delicious and Easy Dessert

If you’re a fan of decadent desserts, then you won’t want to miss out on this divine treat – Godiva White Chocolate Banana Pudding. This creamy and indulgent dessert is made with layers of rich white chocolate pudding, sliced bananas, and vanilla wafers. But what really takes it to the next level is the addition of Godiva white chocolate liqueur, which adds a luxurious richness and depth of flavor to the dessert. Whether you’re serving it up for a special occasion or just treating yourself to a sweet treat, this Godiva White Chocolate Banana Pudding is sure to impress.

INGREDIENTS

INSTRUCTIONS

  1. Peel and slice up two or three bananas. Set this aside.
  2. Combine your heavy whipping cream, powdered sugar, and vanilla in a large bowl. Whisk or beat the ingredients together with an electric mixer for 2 minutes. Set this aside.
  3. In a large mixing bowl, combine powdered pudding mix, milk, and condensed milk together, whisk until smooth. Let this sit for 3 minutes.
  4. With a spatula or spoon, fold in whipped cream topping into the pudding mix and combine until it’s smooth.
  5. Assemble the pudding in a large bowl or individual serving glasses. Alternate layers of pudding, banana slices, and vanilla wafers. Cover the pudding and place this in the fridge for at least 3 hours.
  6. Garnish the dessert with crushed vanilla wafers or banana slices and enjoy!
  7. Don’t forget to share your photos on social media and hashtag, #dinnerwithtayo